Deep Cleaning
Kitchen Deep Cleaning: A Professional Step-by-Step Guide
Restaurant-grade cleaning techniques adapted for Melbourne homes
Professional kitchen deep cleaning techniques for Melbourne homeowners, from oven detailing to grout restoration and benchtop care for every material type.
Oven Deep Cleaning
The oven is typically the most labour-intensive item in any kitchen deep clean, and it is also the item that makes the biggest visual and functional difference when done properly. A thoroughly cleaned oven heats more efficiently, cooks more evenly, produces less smoke, and eliminates the burnt food odours that a dirty oven generates.
Start by removing all racks, trays, and any removable components. Soak these in your bathtub or laundry trough with hot water and a quality degreaser. Let them soak for at least thirty minutes while you work on the oven interior. For heavily soiled racks with baked-on carbon, extend the soak time to several hours or overnight.
Apply a professional-grade degreaser or eco-friendly oven cleaner to all interior surfaces including the roof, sides, floor, and door glass. Be generous with the product and ensure complete coverage. The degreaser needs time to break down baked-on grease, so allow thirty to sixty minutes of dwell time. For ovens that have not been cleaned in six months or more, two applications may be necessary.
Most modern oven doors have a removable inner glass panel that allows cleaning between the glass layers. Grease and moisture vapour infiltrate between these panels over time, creating a brown film that is visible from outside and impossible to clean without disassembly. Check your oven's manual for disassembly instructions. The improvement in door clarity after cleaning between panels is one of the most satisfying results of a thorough oven clean.
For self-cleaning ovens, run the pyrolytic cycle first to burn off major deposits, then manually detail any remaining residue. The self-clean cycle reaches extremely high temperatures that carbonise grease and food residue, turning them to ash that can be wiped away. However, self-cleaning cycles rarely achieve the pristine result that a manual detail delivers, particularly in corners, around the door seal, and on the door glass.
After scrubbing all interior surfaces with a non-scratch pad, rinse thoroughly with clean water and dry completely. Reinstall clean racks and trays. The entire oven detail process takes forty-five to ninety minutes depending on the level of soiling, but the result transforms both the appearance and performance of your oven.
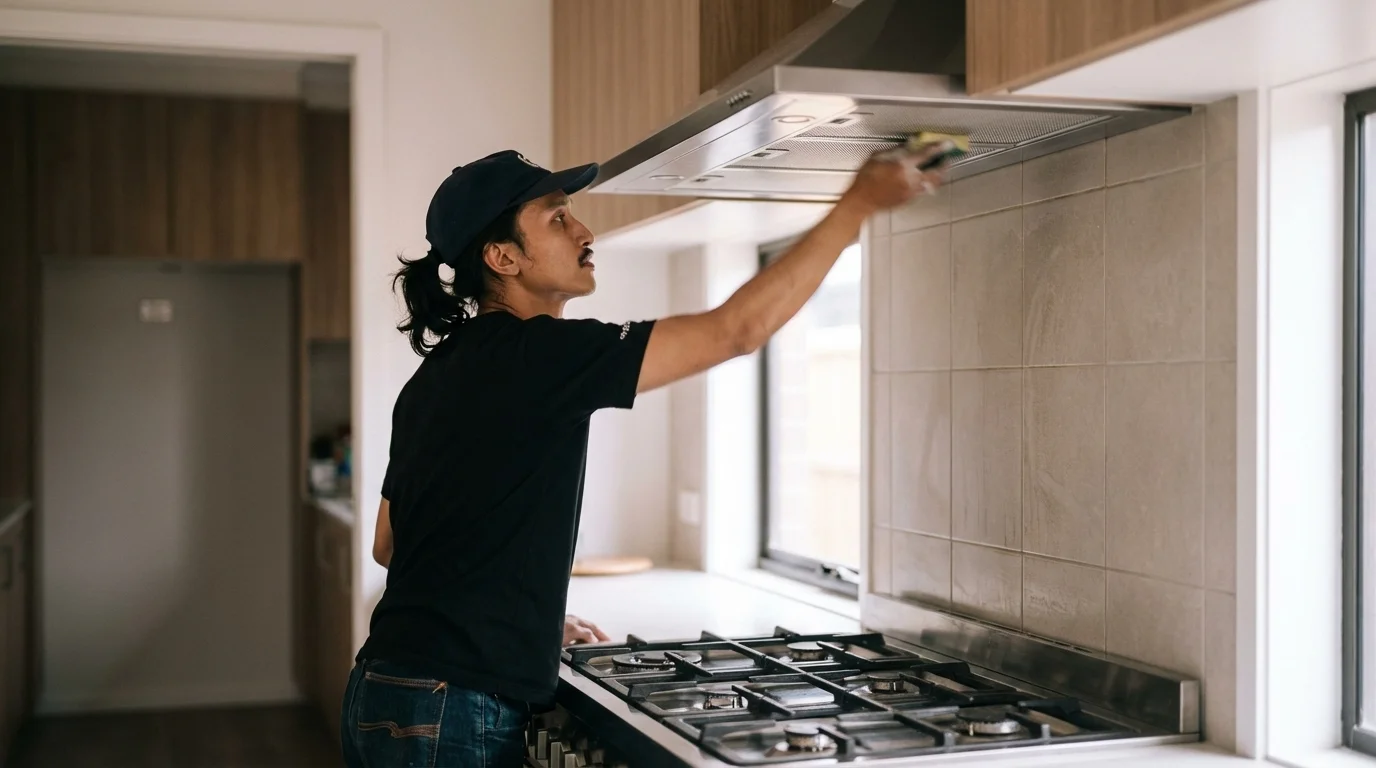
Rangehood and Filter Cleaning
Your rangehood works constantly to remove cooking vapour, grease, and odours from your kitchen air. Over months of use, its filters become saturated with grease, reducing extraction efficiency and creating a fire hazard in extreme cases. The rangehood itself accumulates a greasy film on its surfaces, particularly the underside that faces the cooktop.
Remove mesh or baffle filters and soak them in hot water with a quality degreaser for twenty to thirty minutes. For aluminium mesh filters, a solution of hot water and baking soda works effectively and will not damage the aluminium. For stainless steel baffle filters, commercial degreasers are appropriate. After soaking, scrub with a brush to remove loosened grease, rinse thoroughly under running water, and dry completely before reinstalling.
If your filters are warped, permanently discoloured, torn, or more than two to three years old, replacement is more effective than cleaning. New filters restore full extraction efficiency and are relatively inexpensive compared to the performance improvement they deliver. Most Australian appliance retailers and online suppliers stock standard filter sizes.
Clean the rangehood exterior and underside thoroughly. The underside, which faces the cooktop and collects the most grease, often requires degreaser and focused scrubbing. For stainless steel rangehoods, finish with a stainless steel cleaner and buff in the direction of the grain for a streak-free result. For painted rangehoods, gentle all-purpose cleaner is sufficient.
Check and clean the exhaust duct where it connects to the rangehood. Grease accumulates at this connection point and can restrict airflow. For recirculating rangehoods that use charcoal filters rather than ducted extraction, replace the charcoal filter every three to six months depending on cooking frequency. These filters cannot be cleaned and must be replaced to maintain their odour-absorbing function.
A clean, well-functioning rangehood significantly reduces the grease film that settles across kitchen surfaces during cooking. Investing thirty minutes in thorough rangehood maintenance reduces the cleaning burden across your entire kitchen.
Book a Free Consultation
Speak with our team about your cleaning needs, we'll tailor a solution for your space.
Schedule a CallCleaning Inside Every Appliance
Kitchen appliances accumulate internal grime that affects their performance, hygiene, and the taste of food they produce. A thorough kitchen deep clean addresses every appliance interior, not just the oven.
**Dishwasher:** Despite cleaning dishes daily, dishwashers themselves become dirty. Food particles collect in the filter, grease builds up on spray arms, and black residue develops along door seals and in the detergent dispenser. Remove the filter assembly and clean it under running water with a brush. Check spray arm holes for blockages and clear them with a toothpick. Wipe door seals and the interior edges with a cloth and cleaning solution. Run an empty hot cycle with two cups of white vinegar placed in a bowl on the top rack to sanitise and deodorise the entire machine.
**Microwave:** The simplest and most effective cleaning method is steam. Fill a microwave-safe bowl with water and add sliced lemon or a tablespoon of white vinegar. Run the microwave on high for three to five minutes until the water boils and steam coats the interior. Let it sit for five minutes with the door closed, then open and wipe all interior surfaces with a cloth. The steam loosens dried food splatters and makes them easy to remove without scrubbing. Clean the exterior, control panel, and handle.
**Fridge:** Remove all shelves, drawers, and door compartments. Wash each in warm soapy water, rinse, and dry. Wipe the interior walls, ceiling, and floor with a solution of warm water and baking soda, which cleans and deodorises simultaneously. Pay attention to the door seals where mould and food residue accumulate in the rubber folds. While shelves are out, pull the fridge away from the wall and vacuum the coils on the back or underneath, where dust accumulation reduces cooling efficiency by up to twenty-five percent.
**Kettle and toaster:** Descale the kettle by boiling a solution of half water and half white vinegar, leaving it for thirty minutes, then rinsing thoroughly. Clean the exterior. For toasters, remove the crumb tray and empty it, then invert the toaster over the sink and gently shake to dislodge trapped crumbs. Wipe the exterior.
Each of these appliance cleans takes ten to twenty minutes individually, but the cumulative effect of thoroughly cleaned appliances transforms both the hygiene and the efficiency of your kitchen.
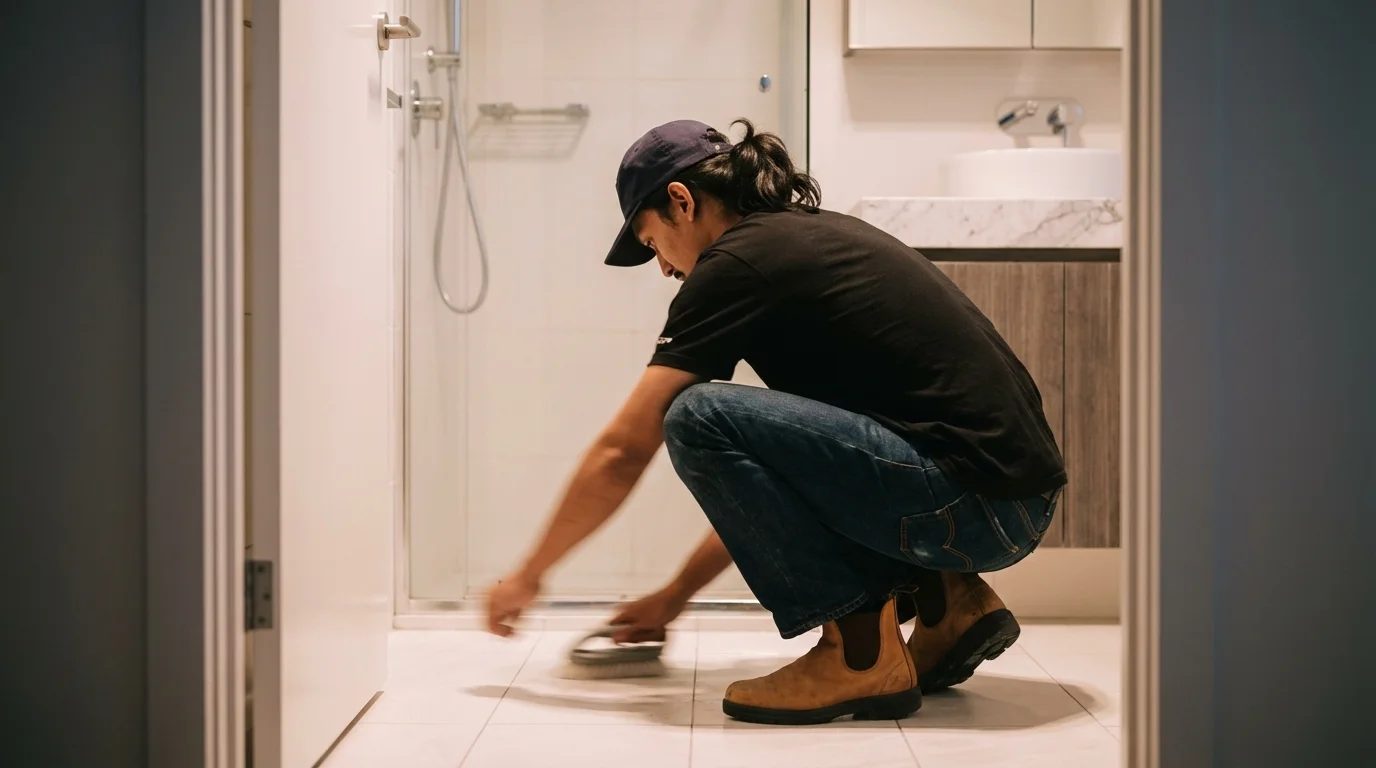
Tile and Grout Restoration
Kitchen splashback and floor grout absorbs cooking oils, food spills, and moisture over time, leading to discolouration that makes even clean tiles look tired. Grout restoration is one of the most impactful elements of a kitchen deep clean because it affects the visual impression of the entire tiled area.
For mild grout staining, make a paste of baking soda and hydrogen peroxide (the three percent solution from chemists). Apply the paste to grout lines with a small brush, let it sit for fifteen to twenty minutes, then scrub with a stiff grout brush and rinse. This treatment handles most light to moderate discolouration and is safe for all standard grout types.
For moderate to heavy staining, oxygen-based bleach products (sodium percarbonate) provide stronger cleaning without the hazards of chlorine bleach. Mix according to directions, apply to grout, let it work for thirty minutes, scrub and rinse. Multiple applications may be needed for heavily stained grout.
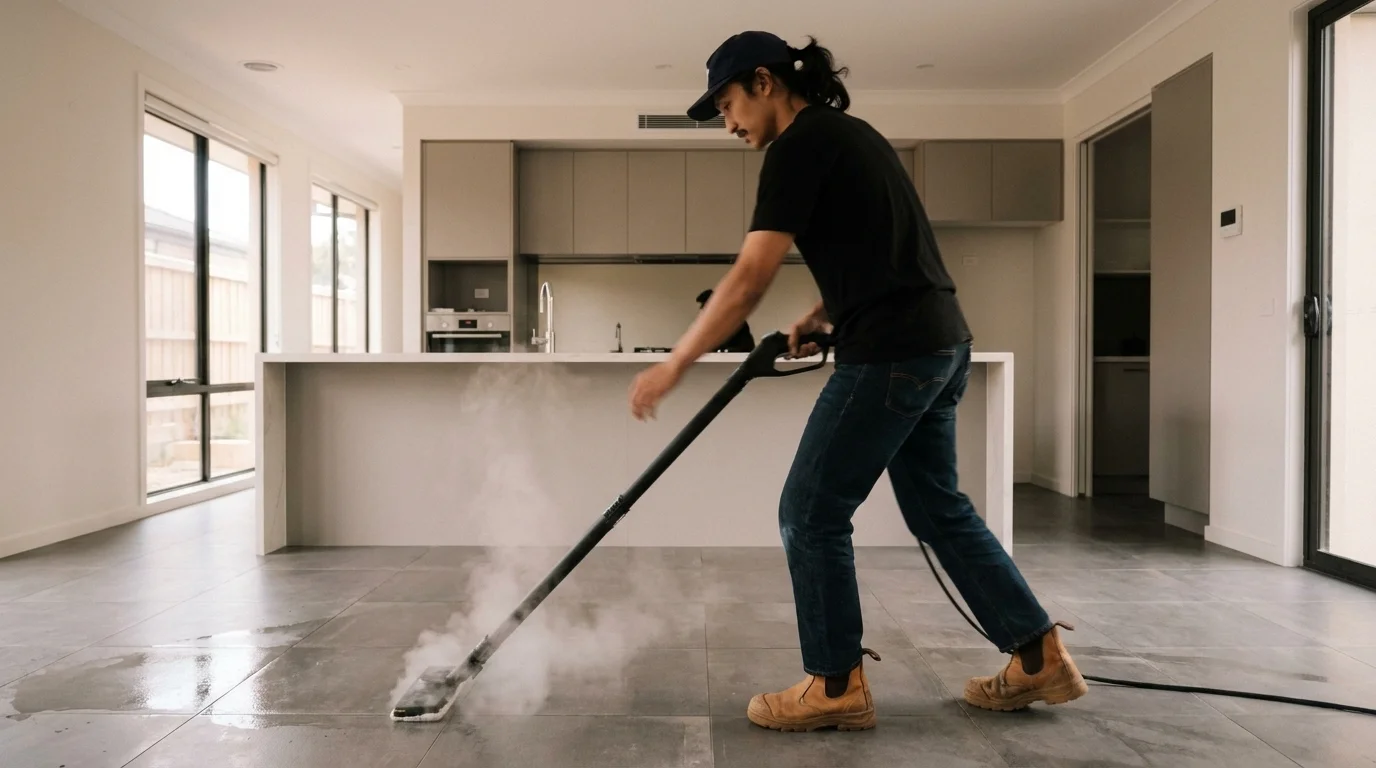
For severe discolouration where grout has absorbed years of cooking oils and food residue, professional grout cleaning with commercial-grade equipment may be necessary. Our hydro force equipment delivers cleaning solution under pressure directly into grout lines, extracting embedded soil that manual scrubbing cannot reach. For grout that is beyond cleaning, professional re-grouting or grout colour sealing provides a fresh appearance at a fraction of the cost of re-tiling.
After cleaning, apply a quality grout sealer to all grout lines. Grout sealer fills the microscopic pores in grout that allow liquid and grease to penetrate, dramatically reducing future staining and making ongoing maintenance much simpler. This single step, which takes thirty minutes for an average kitchen splashback, reduces the frequency and intensity of future grout cleaning by roughly fifty percent.
For natural stone tiles like marble or travertine splashbacks, which are increasingly popular in Melbourne kitchen renovations, use only pH-neutral stone-specific cleaners. Acidic products including vinegar, citric acid, and many bathroom cleaners will etch natural stone surfaces, creating permanent dull spots.
Benchtop Care by Material
Your kitchen benchtop is the most-used surface in your home, and different materials require distinctly different cleaning approaches. Using the wrong product on your benchtop can cause damage that ranges from cosmetic dulling to permanent staining or etching.
**Engineered stone (Caesarstone, Essastone, Quantum Quartz):** Use pH-neutral cleaners only. Avoid bleach, acidic products like vinegar and citric acid, and abrasive cleaners or pads. For stubborn marks, apply a gentle cleaning spray and use a non-scratch sponge. Engineered stone is stain-resistant but not stain-proof, so wipe spills promptly, particularly coffee, red wine, turmeric, and beetroot which can stain if left sitting.
**Natural stone (marble, granite, limestone):** These surfaces require stone-specific cleaners that are pH-neutral and designed for natural stone. Marble is particularly sensitive, etching on contact with anything acidic including lemon juice, vinegar, and tomato sauce. Granite is more resilient but still benefits from dedicated stone cleaners. All natural stone benchtops should be resealed annually to maintain stain resistance. Professional resealing is straightforward and typically costs one hundred to two hundred dollars.
**Laminate:** Gentle all-purpose cleaner and a soft cloth handle daily cleaning. Avoid abrasive cleaners, scouring pads, and harsh chemicals that can damage the laminate surface. Laminate is more scratch-prone than stone, so use cutting boards consistently and avoid dragging items across the surface.
**Timber and butcher block:** Oil or wax according to the manufacturer's recommendations, typically monthly for oiled surfaces. Wipe spills immediately as timber absorbs moisture. Clean with a damp cloth and mild dish soap, then dry thoroughly. For butcher block used for food preparation, regular application of food-safe mineral oil maintains the timber and creates a barrier against moisture and bacteria.
**Stainless steel:** Clean with a dedicated stainless steel cleaner or warm soapy water, always wiping in the direction of the grain. Avoid abrasive cleaners and steel wool. For fingerprint-resistant coated stainless steel, check the manufacturer's recommendations as some coatings have specific care requirements.
Knowing your benchtop material and using appropriate products ensures you clean effectively without causing damage. If you are unsure what your benchtop is made from, check your purchase documentation or ask your builder or kitchen installer.
Questions? We're Here to Help
Call us directly or send through your details. We typically respond within 24 hours.
Contact Us