Post-Construction
Post-Renovation Cleaning: What to Expect and How to Prepare
A comprehensive guide to cleaning up after building works in Melbourne
Everything Melbourne homeowners need to know about post-renovation cleaning, from dust management to timeline expectations and professional service options.
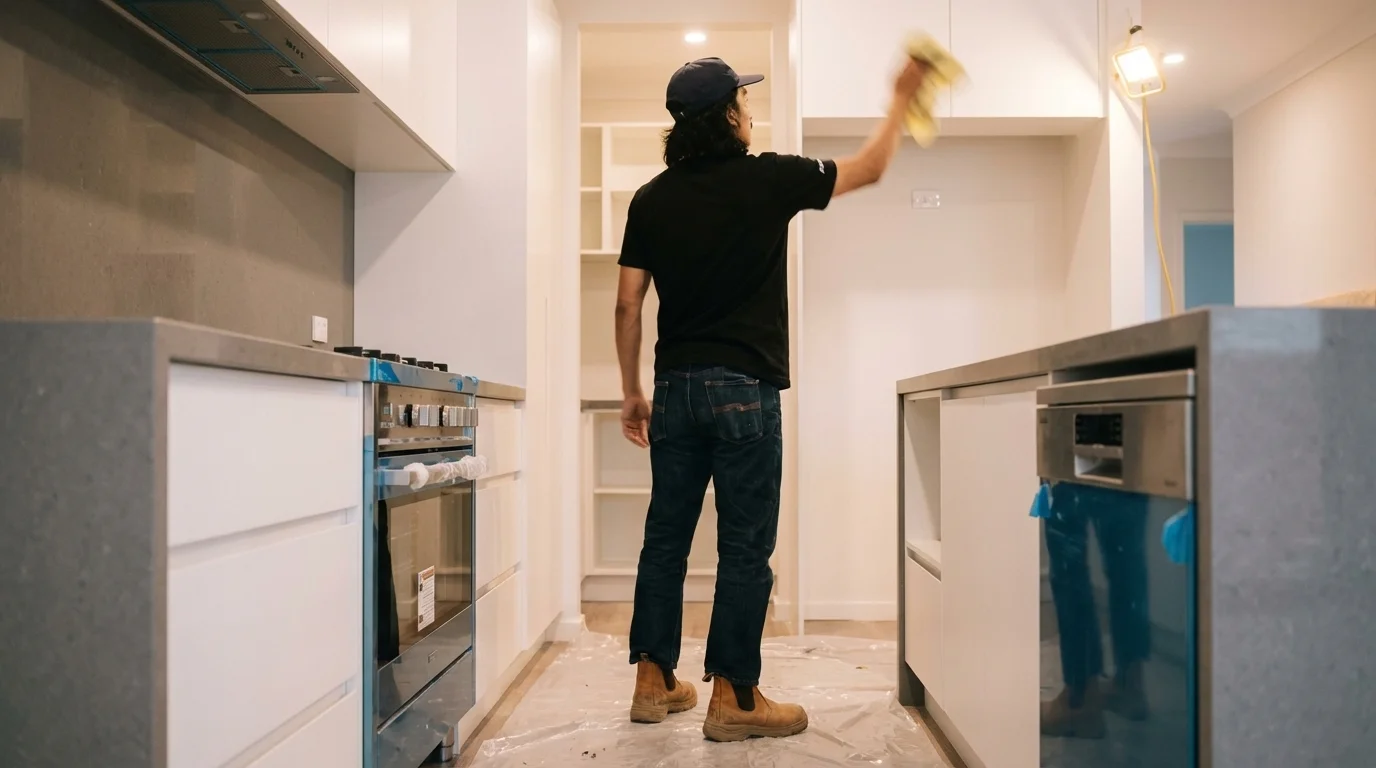
Why Post-Renovation Cleaning Is Specialised
Construction dust is fundamentally different from everyday household dust, and treating it the same way creates problems rather than solving them. Understanding this distinction is essential for anyone who has just completed building works, whether a minor bathroom refresh or a major home renovation.
Construction dust contains fine particulates from plaster, concrete, timber, paint, grout, and adhesives. These particles are smaller, harder, and more abrasive than regular household dust. They settle into every crevice, vent, fabric surface, and mechanical component in your home. Plaster dust in particular is extremely fine, almost talcum-like, and disperses through an entire property even when the work is confined to one room. If your renovation involved any plaster work, expect dust in rooms you thought were sealed off.
Regular cleaning methods simply redistribute construction dust rather than removing it. A standard household vacuum without HEPA filtration passes fine construction particles straight through its filter and back into the air, making the situation worse. Conventional mopping spreads plaster dust across floors, creating a thin chalky film that dries and redeposits. Even regular microfibre cloths struggle to capture the finest construction particles without proper technique.
Professional post-renovation cleaning uses HEPA-filtered vacuums that capture particles down to 0.3 microns, specialised techniques that remove dust without redistribution, and a multi-pass approach designed specifically for construction residue. Each pass addresses a different level of dust, from the initial bulk removal through to the final detail cleaning that achieves a genuinely dust-free environment.
The stakes are particularly high with new finishes. Incorrect cleaning methods can scratch new timber floors, dull freshly installed tapware, leave streaks on new glass, or damage newly tiled surfaces. Construction dust itself is abrasive, so wiping it across surfaces without proper technique can create micro-scratches that compromise the appearance of your brand-new renovation. This is why post-renovation cleaning is a specialised service rather than just a regular clean after builders leave.
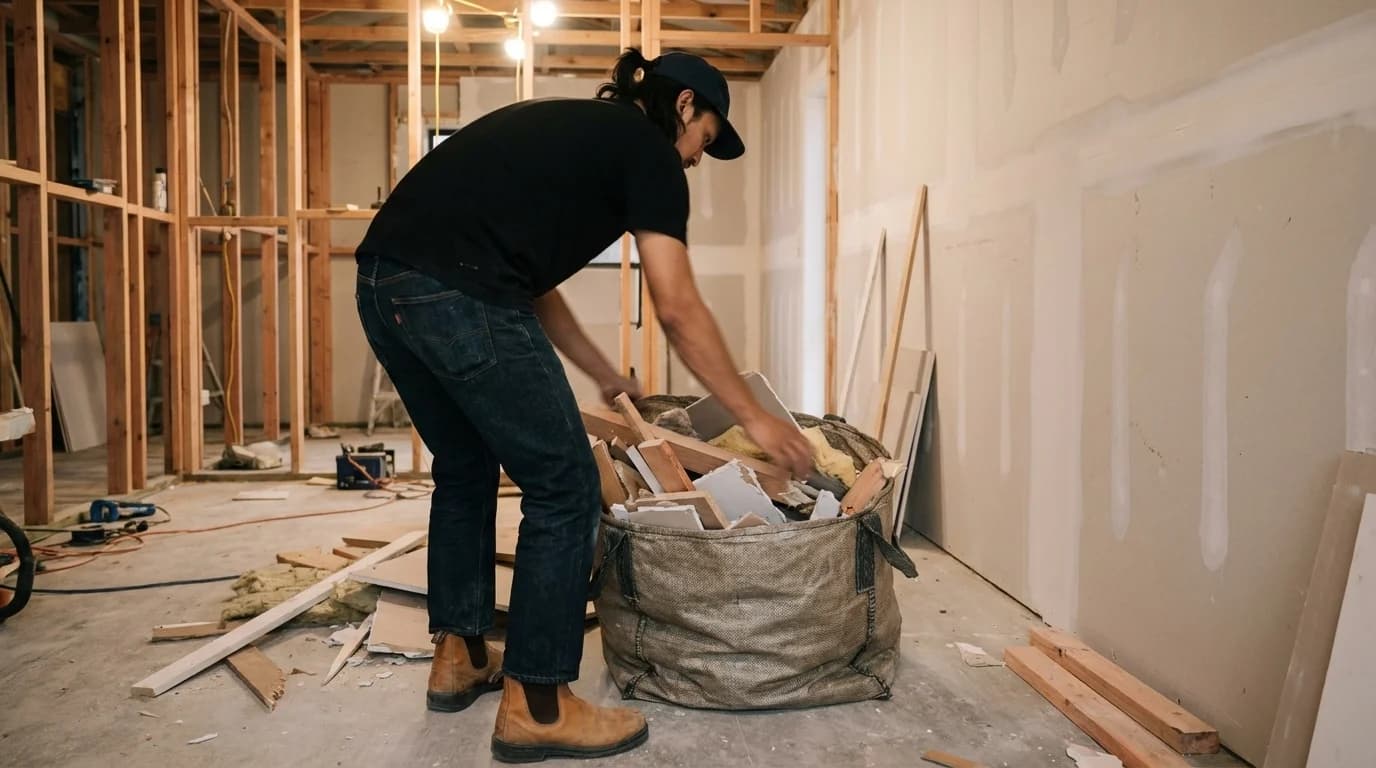
Understanding Different Construction Debris
Different renovation activities produce different types of debris, each requiring specific cleaning approaches. Knowing what you are dealing with helps you understand why certain techniques are used and what to expect from the cleaning process.
**Plaster dust** is the most pervasive and challenging construction residue. It is extremely fine, alkaline in nature, and settles on every horizontal and many vertical surfaces throughout the property. It requires HEPA vacuuming before any wet cleaning, as wet-mopping plaster dust creates a paste that is harder to remove than the original dust. Multiple passes are typically needed because plaster dust resettles from the air after initial cleaning.
**Concrete and grout residue** presents different challenges. Concrete dust is abrasive and can scratch polished surfaces if wiped without prior vacuuming. Grout haze, the thin film left on tiles after grouting, needs specialised removal within the first week after application. After that window, grout haze bonds to the tile surface and becomes significantly harder to remove, sometimes requiring professional acid treatment.
**Paint splatters** vary by type. Water-based paint is relatively easy to remove when fresh but becomes progressively harder as it cures. On hard surfaces, a damp cloth handles fresh spatters. Cured water-based paint requires gentle scraping or specialised removers. Oil-based paint needs appropriate solvents and should be addressed promptly before full curing. Both types require care to avoid damaging the surface underneath.
**Adhesive residue** from protective films, tape, labels, and construction adhesives is common on glass, fixtures, and finished surfaces. Different adhesives require different removal approaches. Some respond to warm soapy water, others need citrus-based solvents, and some require specialised adhesive removers. Using the wrong approach can smear adhesive across a larger area.
**Sawdust and wood shavings** are particularly problematic in carpet and upholstery. Fine sawdust embeds in carpet fibres and requires professional extraction. Larger shavings can be vacuumed but check for any staining from wood tannins, particularly from hardwoods like blackbutt or spotted gum, which can transfer colour to light-coloured carpet.
Book a Free Consultation
Speak with our team about your cleaning needs, we'll tailor a solution for your space.
Schedule a CallDIY vs Professional Post-Renovation Clean
The decision between DIY and professional post-renovation cleaning depends on the scale and type of renovation, the finishes involved, and your tolerance for the time commitment required.
Small cosmetic renovations like repainting a room, replacing light fixtures, or installing new shelving can usually be handled with DIY cleaning. The dust volume is manageable, the debris is limited, and the risk of damaging new finishes is low. For these jobs, thorough vacuuming with the best available vacuum, damp microfibre wiping of all surfaces, and regular mopping will achieve acceptable results.
Major renovations, anything involving structural work, plaster, tiling, or extensive carpentry, almost always require professional cleaning. The volume of dust, the variety of debris types, and the risk of damaging expensive new finishes make professional expertise a worthwhile investment. For a renovation costing fifty thousand dollars or more, the professional cleaning cost of five hundred to one thousand five hundred dollars represents one to two percent of the project total, a minor addition that protects your investment in the renovation itself.
Professional post-construction cleaners carry specific insurance for working in newly renovated properties, protecting both you and the new finishes from accidental damage during the cleaning process. Our public liability insurance covers any damage that might occur during our work, giving you peace of mind that your new surfaces are protected.
We also bring knowledge of appropriate products for every finish type. Different benchtop materials, floor types, tapware finishes, and tile surfaces each require specific cleaning approaches. Using the wrong product on a new engineered stone benchtop, for example, can cause permanent discolouration or etching. Our team is trained on product compatibility for all common building materials and finishes.
For mid-scale renovations like kitchen or bathroom refits, the decision often comes down to time. A DIY post-renovation clean for a kitchen renovation takes most people a full weekend. Our team completes the same job in four to six hours with superior results. If your weekend time has value, the professional option is cost-effective even before considering the quality difference.
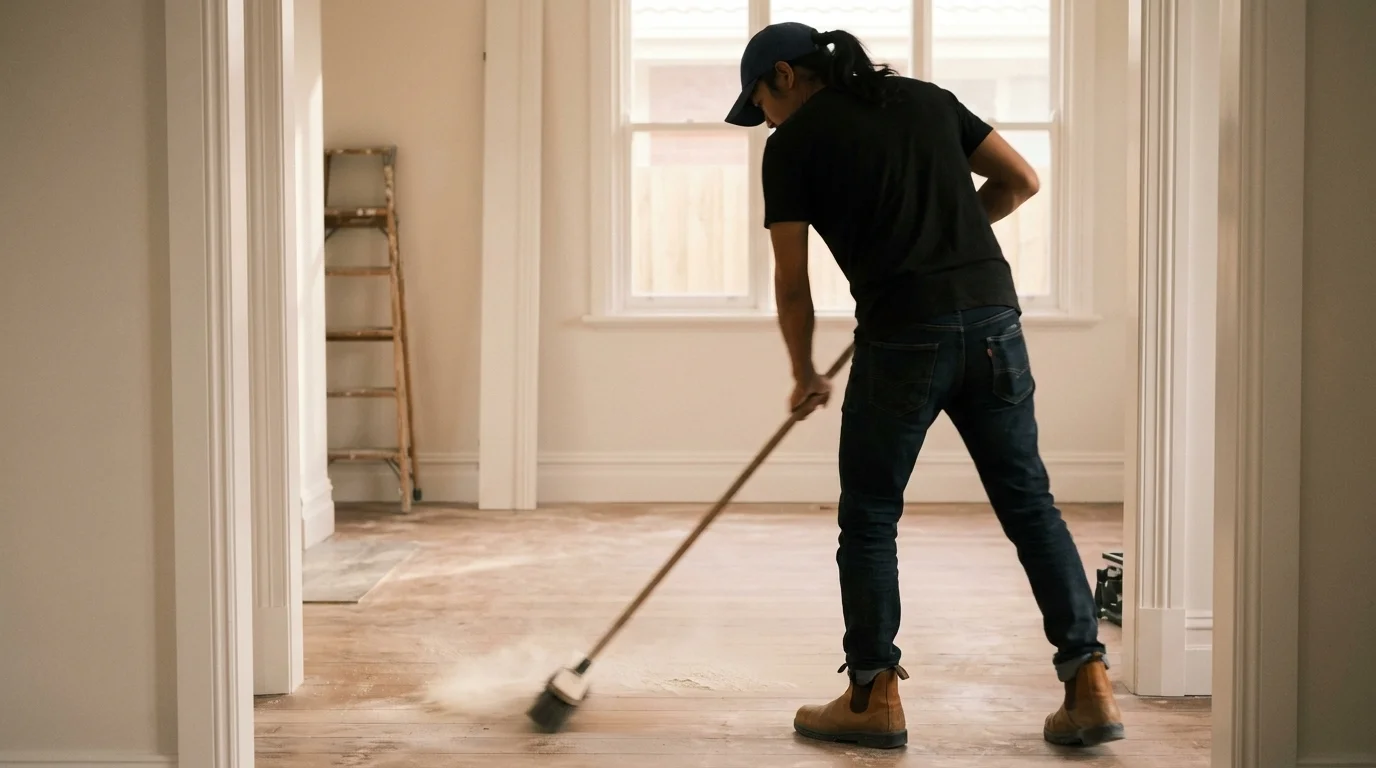
Cleaning Timeline After Renovation
Timing matters significantly for post-renovation cleaning. Cleaning too early means dust has not fully settled and will redeposit on cleaned surfaces. Cleaning too late means certain residues like grout haze become much harder to remove. Getting the timeline right maximises the effectiveness of the clean.
Allow two to three days after construction finishes for dust to fully settle before scheduling the initial professional clean. During this settling period, keep windows open where possible to ventilate the space and allow airborne particles to dissipate. Run HVAC systems on fan-only mode with fresh air intake if available. This settling period is not wasted time. It significantly reduces the work required during the clean and improves the final result.
Our cleaning process involves two to three passes depending on the scope of renovation.
**Pass one, day one:** Rough clean. Remove all bulk debris, construction waste, and large particles. HEPA vacuum all surfaces including walls, ceilings, and floors. Wet wipe all hard surfaces with appropriate solutions. This pass removes approximately eighty percent of construction residue and prepares surfaces for detailed cleaning.
**Pass two, day two:** Detail clean. Clean all windows inside and out, removing paint splatters, adhesive residue, and construction grime. Detail all fixtures including tapware, handles, hinges, and light fittings. Clean inside all cabinetry, removing dust and construction debris. Final floor treatment appropriate to the floor type. Clean all air vents and accessible ductwork.
**Pass three, if needed:** Touch-up clean one to two days after pass two. Some dust inevitably resettles from the air after initial cleaning, particularly in renovations involving extensive plaster work. This final pass addresses any resettled dust and ensures the property is genuinely move-in ready.
For major renovations affecting most of the home, expect one to three days of professional cleaning depending on property size and renovation scope. For single-room renovations like a bathroom refit, a single day typically suffices.
Protecting Your New Finishes
Your renovation represents a significant investment, and protecting new finishes during the cleaning process is paramount. Different materials require different products and techniques, and using the wrong approach can cause permanent damage to surfaces that were pristine just days ago.
**Engineered stone benchtops** like Caesarstone and similar brands must be cleaned with pH-neutral products only. Acidic cleaners including vinegar, citric acid, and many bathroom cleaners can etch the resin surface, creating dull spots that cannot be buffed out. Abrasive cleaners and scouring pads will scratch the surface. Use a soft cloth with warm water and mild dish soap for daily cleaning, and specific engineered stone cleaner for deeper cleaning.
**Natural stone surfaces** including marble, granite, and travertine are even more sensitive. Marble etches from contact with any acidic substance including lemon juice, vinegar, and most bathroom cleaners. Granite is more resilient but still requires stone-specific cleaners. All natural stone should be sealed after installation and resealed annually to maintain stain resistance.
**New tapware** comes in various finishes, each with different care requirements. Chrome is the most forgiving and handles most cleaners. Brushed nickel requires gentle, non-abrasive cleaning in the direction of the grain. Matte black finishes show water spots and fingerprints readily and need gentle handling with soft cloths. Brass and copper finishes may be lacquered or unlacquered, each requiring different maintenance approaches.
**Timber floors** should never be cleaned with excessive water, steam cleaners, or harsh chemicals after installation. Damp mopping with a pH-neutral timber floor cleaner is appropriate. For the first few weeks after installation, particularly with new polyurethane finishes, be especially gentle and follow your installer's specific maintenance instructions.
Always ask your builder or trades what products are safe for your specific new finishes. This information should be provided at handover and is particularly important for specialty materials. We consult with our clients about their new finishes before beginning any post-renovation clean, and we match our products and techniques to the specific materials in each property.
Questions? We're Here to Help
Call us directly or send through your details. We typically respond within 24 hours.
Contact Us