Post-Construction
How to Remove Construction Dust From Every Surface
Professional techniques for eliminating stubborn building dust
Expert methods for removing construction dust from different surfaces including timber, tile, carpet, and soft furnishings in Melbourne homes.
Why Construction Dust Is Different
Construction dust is not simply more household dust. It has fundamentally different properties that require different cleaning approaches. Understanding these differences is essential because using the wrong method does not just fail to clean, it can actively damage your surfaces and worsen indoor air quality.
Plaster dust is the most common and problematic construction residue. It consists of particles of gypsum, calcium carbonate, and binders that are extremely fine, often measuring under ten microns. For context, a human hair is approximately seventy microns wide. These ultra-fine particles remain airborne for hours after disturbance, penetrate into the finest crevices, and cannot be captured by standard vacuum filters. When mixed with water, plaster dust forms a paste that sets like a thin concrete film on surfaces, which is why mopping plaster dust without prior dry removal creates a worse problem than the original dust.
Concrete dust is even more abrasive than plaster dust, with hard particles that scratch polished surfaces, glass, and delicate finishes if wiped across them without prior removal. Concrete dust also has a high pH, making it mildly alkaline, which can react with certain surface finishes and sealants.
Timber dust varies by species. Hardwood dust from species like blackbutt, spotted gum, and Victorian ash can stain light-coloured surfaces due to tannin content. Softwood dust is less likely to stain but still requires thorough removal to prevent respiratory issues, as wood dust is a known respiratory irritant.
Never use a standard household vacuum on construction dust. Standard vacuums pass particles under ten microns straight through their filter bag or canister and exhaust them into the room air. You are literally picking dust up from one surface and distributing it into the air where it settles on every surface in the room. HEPA filtration, which captures ninety-nine point nine seven percent of particles down to 0.3 microns, is the minimum standard for effective construction dust removal.
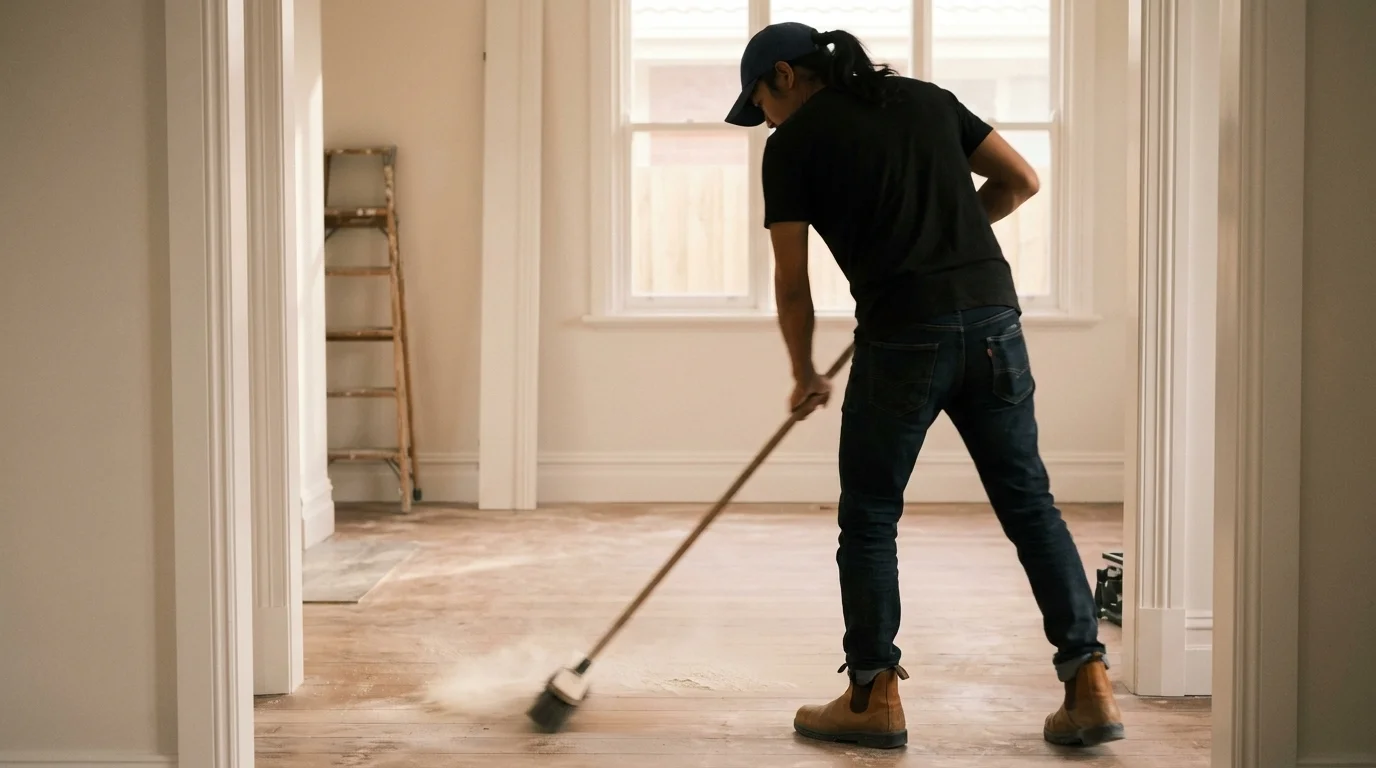
Removing Dust From Hard Floors
Each hard floor type requires a specific approach that effectively removes construction dust without damaging the surface. The common principle across all floor types is dry removal first, wet cleaning second.
**Timber floors** are particularly vulnerable during post-construction cleaning because construction dust particles are abrasive enough to scratch polyurethane and oil finishes if dragged across the surface. Begin with thorough HEPA vacuuming using a soft floor attachment, working slowly in overlapping passes to capture as much dust as possible. Follow with a damp mop using a pH-neutral timber floor cleaner. The mop should be damp, not wet. Excess moisture causes timber to swell, which can create cupping, warping, and finish damage. Wring your mop thoroughly and work in small sections, rinsing or replacing the mop head frequently to avoid spreading dirty water.
For new timber floors that have just been installed or refinished, follow the specific care instructions from your flooring installer. Many new polyurethane finishes require a curing period during which only gentle, pH-neutral cleaning is appropriate. Using the wrong product during this curing window can permanently damage the finish.
**Tiles** are more forgiving but grout lines require attention. HEPA vacuum first to remove loose dust from both tile surfaces and grout lines. Then mop with a pH-neutral tile cleaner. For grout haze, a condition where a thin film of grout residue covers the tile surface, use a dedicated grout haze remover within the first five to seven days after grouting. Beyond this window, grout haze bonds to the tile surface through a chemical reaction and may require professional treatment with specialised acid solutions. Do not use acid-based removers on natural stone tiles such as marble, travertine, or limestone, as the acid will etch and damage the stone.
**Polished concrete** should be vacuumed with a HEPA system, then damp mopped with a pH-neutral cleaner specifically designed for polished concrete surfaces. Avoid acidic or alkaline cleaners that can strip the polish or react with the concrete sealer. For sealed polished concrete, check with your concretor about approved cleaning products during the initial maintenance period.
Ready for a Spotless Space?
Get a free, no-obligation quote from Melbourne's trusted cleaning professionals.
Get a Free QuoteCleaning Walls and Ceilings
Walls and ceilings collect more construction dust than most people realise, particularly on horizontal ledges, textured surfaces, and painted finishes where fine particles adhere through static charge.
Always work from top to bottom when cleaning walls and ceilings. This ensures dust dislodged from upper surfaces falls onto areas that have not yet been cleaned, preventing the need to re-clean lower sections. Start with the ceiling, move to walls, and finish with floors.
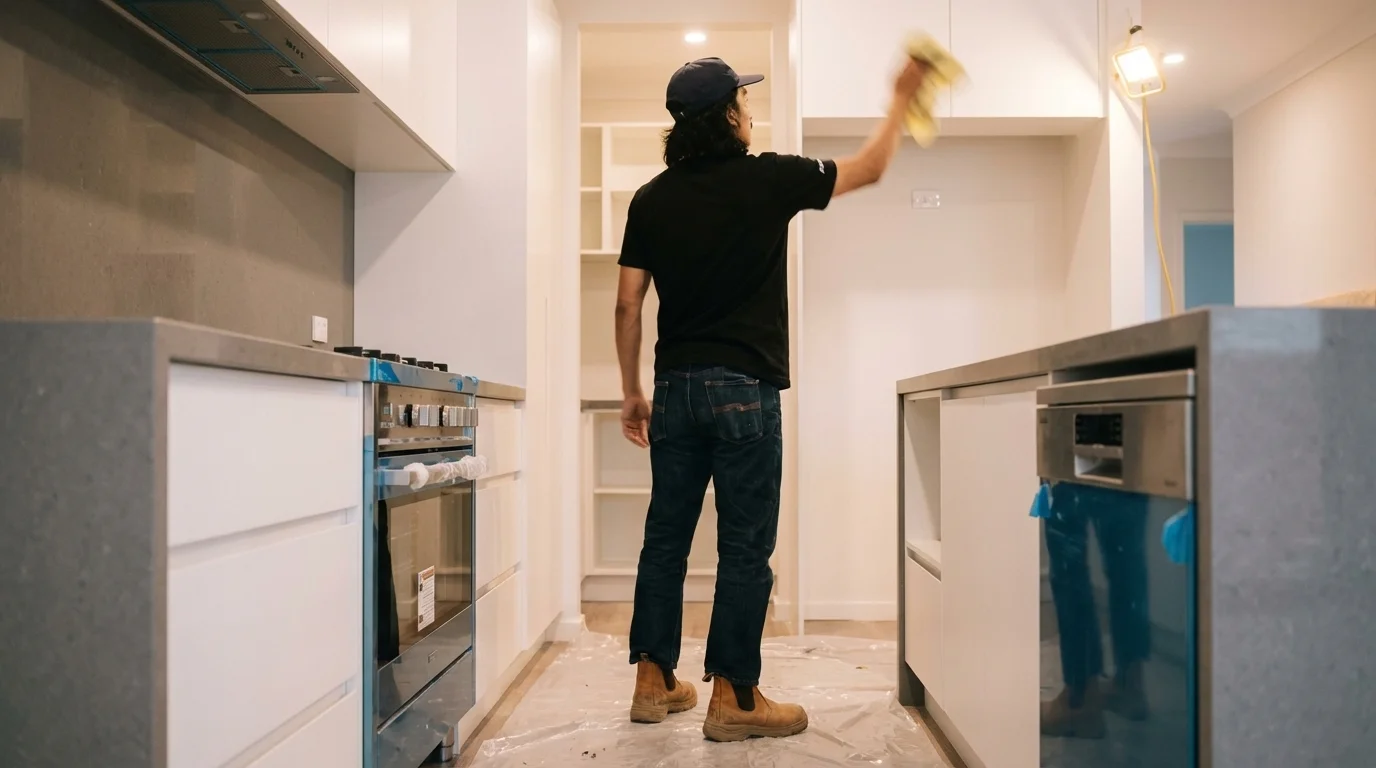
For smooth painted surfaces, use a dry microfibre cloth first to remove loose dust. Work in gentle, overlapping strokes rather than circular motions that redistribute dust. Follow with a lightly dampened microfibre cloth to capture remaining particles. Avoid saturating painted surfaces with water, particularly newly painted walls where the paint may not have fully cured. Excessive moisture on fresh paint can cause bubbling, discolouration, or soft spots.
For textured walls, including popular textures like render, Venetian plaster, and feature stone, a soft-bristle brush attachment on your HEPA vacuum is the most effective tool. The bristles reach into surface textures that flat cloths cannot access. Work systematically from top to bottom, overlapping each pass.
Ceilings are often the most heavily coated surface in a renovated room because construction dust rises with warm air and deposits on the ceiling. In rooms where plaster work was done, the ceiling may require multiple cleaning passes. Use a vacuum with an extension wand and ceiling attachment, or a microfibre duster on an extendable pole.
Do not forget the areas where walls meet ceilings, the cornices and coving that trap dust in their recesses. Use a small brush or the crevice tool on your vacuum to clean these transitions thoroughly. Air vents located in ceilings or high on walls deserve particular attention, as they collect construction dust that will circulate through your HVAC system.
Protecting and Cleaning Soft Furnishings
If furniture, curtains, or other soft furnishings were present during construction, they will have absorbed construction dust into their fibres. Unlike hard surfaces where dust sits on top and can be wiped away, soft furnishings trap particles within their material, making standard cleaning insufficient.
Upholstered furniture requires professional treatment after significant construction exposure. Regular vacuuming removes surface dust but cannot extract the fine particles that have penetrated into cushion fill, fabric weave, and structural padding. Professional upholstery cleaning uses extraction methods that flush out embedded particles, restoring both the appearance and the cleanliness of the fabric. For high-value furniture exposed to significant construction dust, professional cleaning is a worthwhile investment in protecting your assets.
Curtains and blinds in construction zones should be removed and professionally cleaned or replaced. Fabric curtains absorb fine dust particles that are released into the room air every time the curtains are opened or closed or when a breeze moves them. Professional laundering or dry cleaning depending on the fabric type is the most effective approach. Venetian and vertical blinds should be cleaned slat by slat with a damp microfibre cloth after initial vacuuming.
Carpet in rooms adjacent to or within construction zones requires professional extraction cleaning rather than standard vacuuming. Construction dust embeds in carpet pile at a level that domestic vacuums cannot reach, even with HEPA filtration. A single standard vacuum pass on construction-dust-affected carpet may remove surface dust but leaves the majority of fine particles in the carpet base where they are released into the room air with every footstep. Professional hot water extraction or steam cleaning is the only effective method for thoroughly removing construction dust from carpet.
For valuable area rugs exposed to construction dust, we recommend professional rug cleaning from a specialist. Oriental, silk, and hand-knotted rugs require specific cleaning methods that differ from standard carpet cleaning.
Restoring Indoor Air Quality
Construction dust remains airborne for days or even weeks after visual cleaning if not managed correctly. Even after thorough surface cleaning, fine particles continue to circulate through indoor air, settling and resuspending with every air movement, door opening, or HVAC cycle. Restoring healthy indoor air quality after renovation is as important as cleaning visible surfaces.
Replace all HVAC filters immediately after renovation. During construction, your heating and cooling system's filters have been capturing construction dust, and they will be significantly clogged. Running the system with clogged filters forces dust through gaps in the filter seal and back into your air. Install fresh filters rated MERV 11 or higher for effective fine particle capture.
Have air conditioning ducts professionally cleaned if construction dust entered the duct system. This is particularly important if the HVAC system was running during any part of the renovation, as construction dust will have been drawn into the ductwork and deposited throughout the system. Professional duct cleaning removes this reservoir of dust that would otherwise recirculate through your home for months.
Consider running standalone air purifiers with HEPA filters in the most-used rooms for the first one to two weeks after your post-renovation clean. These units capture airborne particles that continue to be released from soft furnishings, carpet, and other surfaces as they are disturbed through normal living.
Ventilation is your ally during this period. Open windows whenever weather permits to allow fresh air circulation and the gradual displacement of dust-laden indoor air. Cross-ventilation, where windows on opposite sides of the home are opened simultaneously, is the most effective method for air exchange.
Monitor your home's air quality for the first few weeks after renovation. If you notice persistent dusty conditions, visible particles in sunlight beams, or ongoing respiratory irritation, additional cleaning passes or air quality measures may be needed. Our post-construction cleaning process includes vent and duct cleaning to ensure the dust does not recirculate, and we can return for additional passes if needed to achieve optimal air quality.
Book a Free Consultation
Speak with our team about your cleaning needs, we'll tailor a solution for your space.
Schedule a Call